Quick Answer
You cannot fabricate a composite sandwich panel like plywood. Three rules cover 90% of field failures: cut with the right tooling and support both skins, seal every cut edge before the panel sees moisture, and never let a load path end in the core — put it into a bonded insert, a laminated block, or a through-bolt with a backing plate. A self-tapping screw into a 20mm PP honeycomb panel pulls out at roughly 150-300 N. The same hole with a bonded threaded insert holds 2,500-4,500 N. That is a 15x difference for about 90 seconds of extra work.
This guide covers cutting parameters, edge sealing, insert selection with load data, panel-to-panel joints, and the surface-preparation step that ruins more polypropylene bonds than any other single mistake.

Why Sandwich Panels Behave Differently
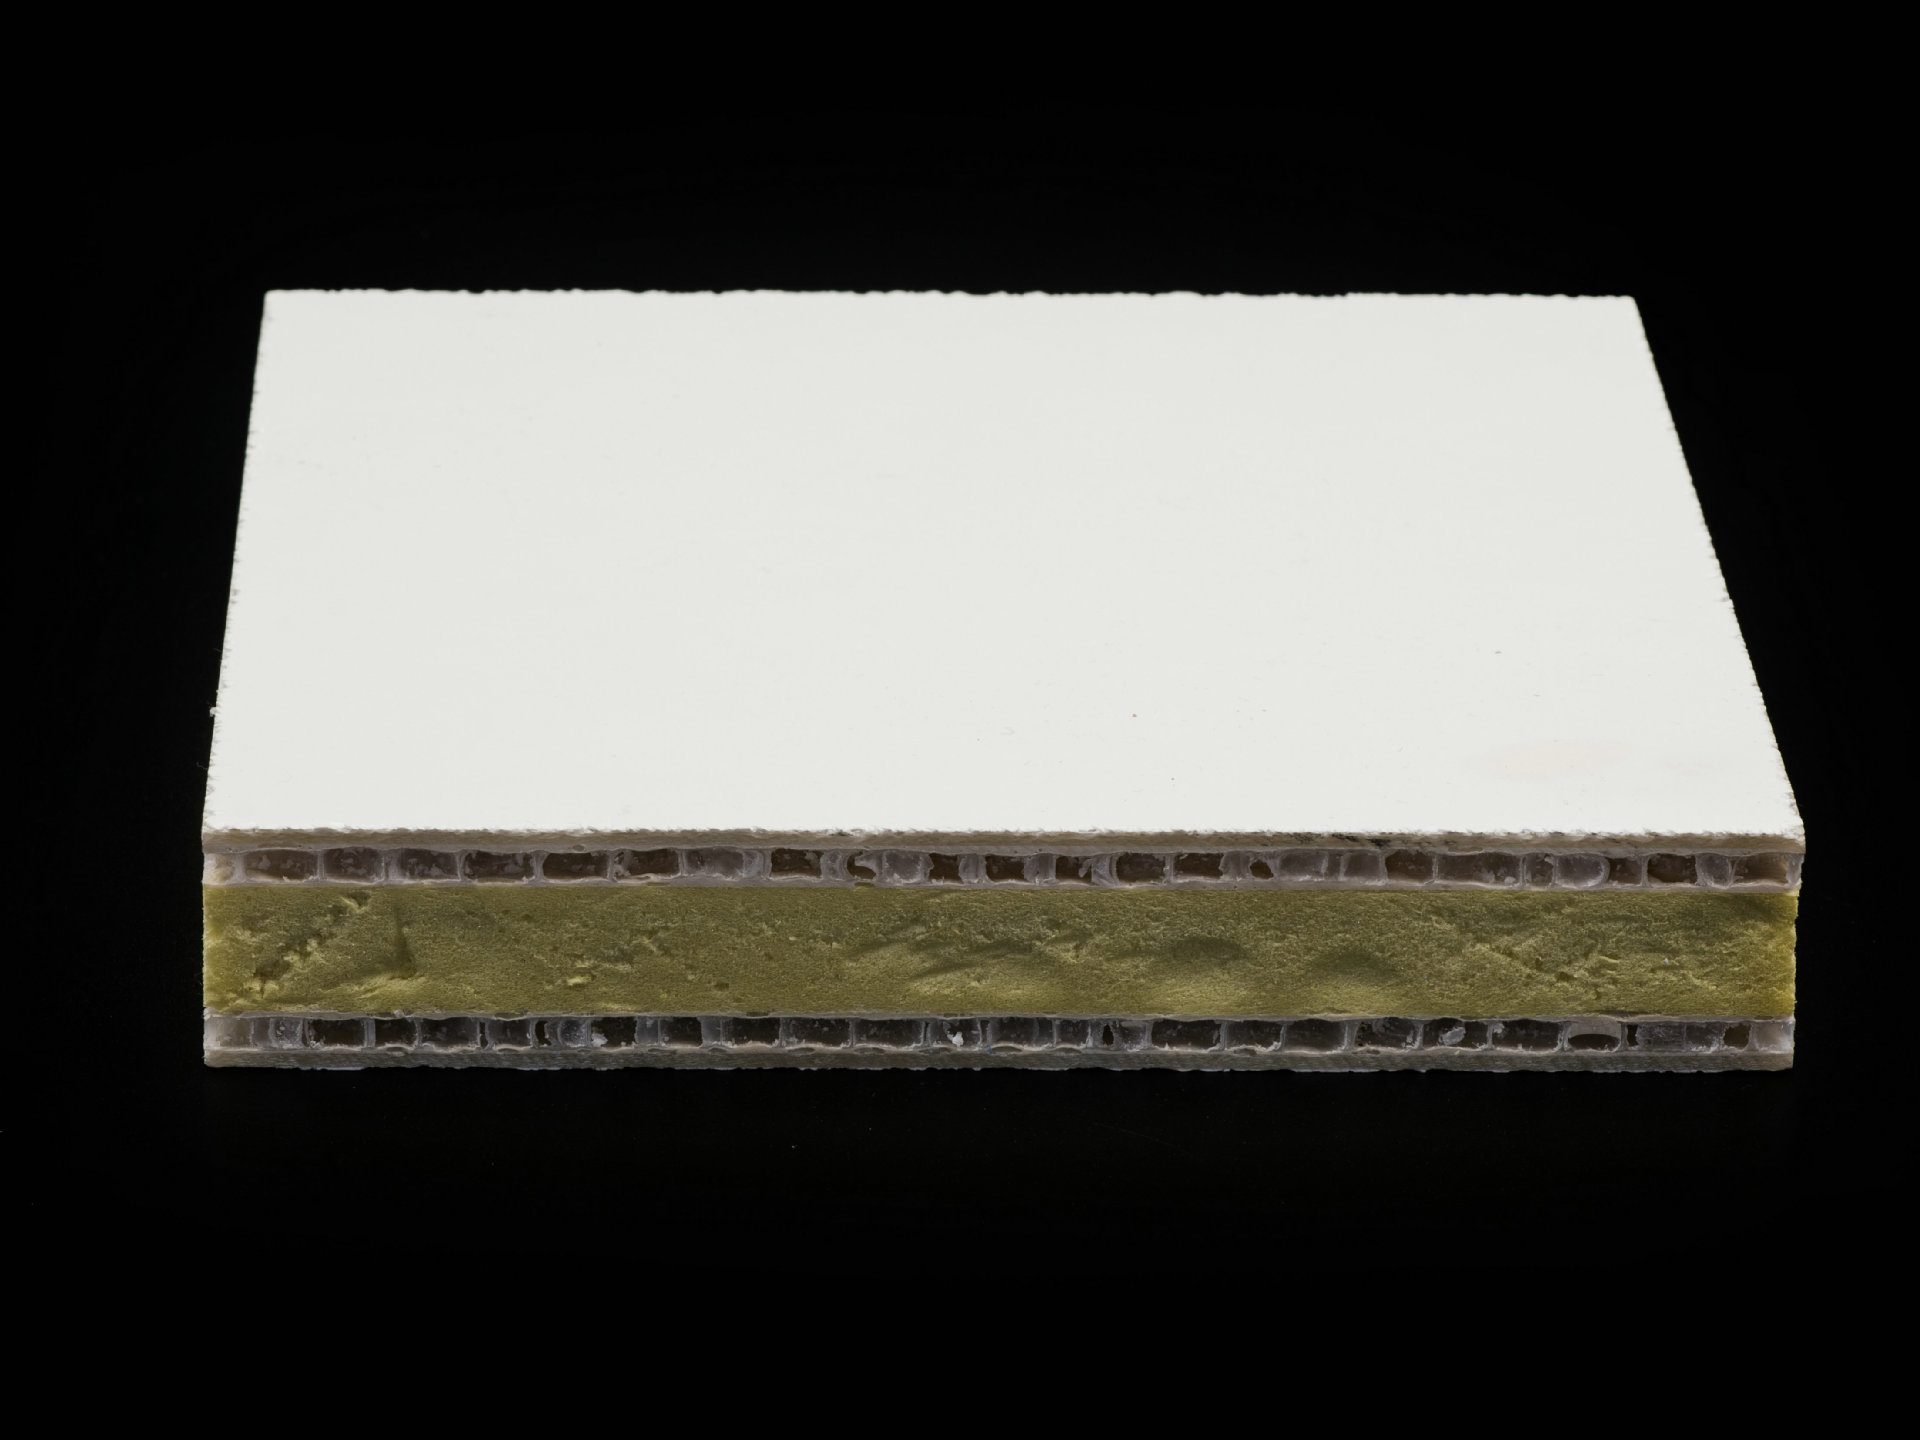
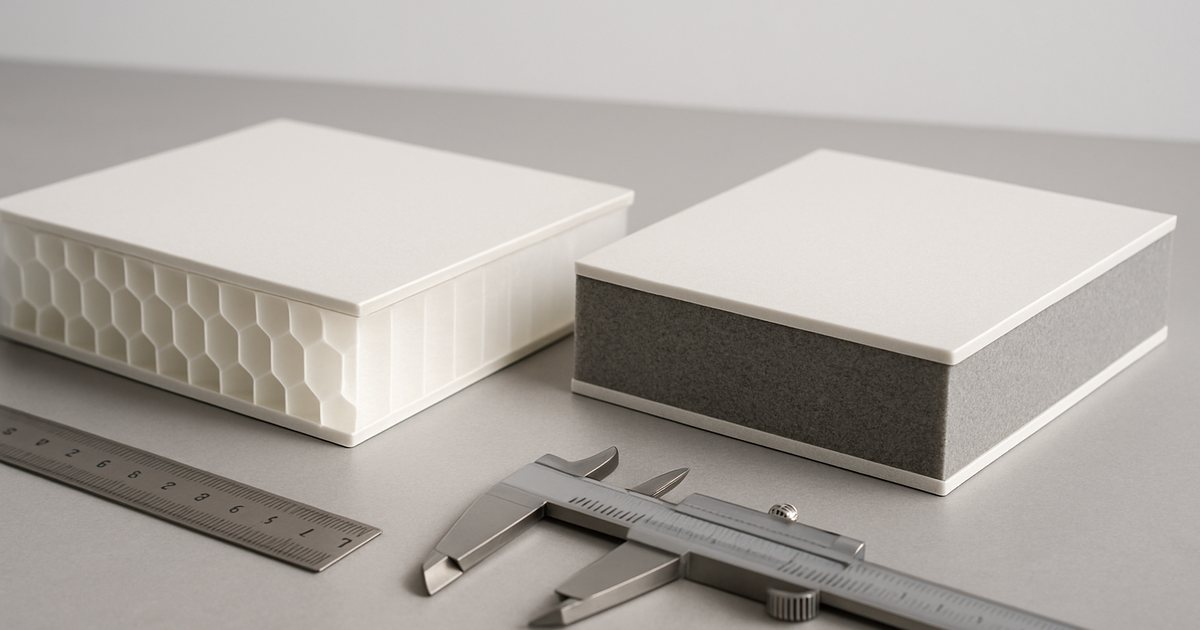
A sandwich panel is not a solid material with a uniform cross-section. It is two thin, strong skins carrying tension and compression, separated by a light core whose only job is to keep them apart and transfer shear. Ninety-five percent of the core volume is air.
That structure has three fabrication consequences you have to design around:
If you understand those three points, everything below follows logically. For the underlying structural theory, see our sandwich panel construction guide.
Cutting: Tooling, Speeds and Feeds
The goal in every cutting operation is to shear both skins cleanly without lifting either one off the core. That means downward or opposed cutting forces at the skin surfaces, not upward.
| Method | Best for | Tooling | Speed | Edge quality |
|---|---|---|---|---|
| CNC router | Production, shaped cuts, pockets | 6-12mm compression spiral, 2-3 flute | 18,000-24,000 rpm, feed 4-8 m/min | Excellent |
| Panel saw / table saw | Straight cuts, on-site trimming | 300mm TCG carbide, 80-100 teeth, negative hook | 3,500-4,500 rpm, slow steady feed | Very good |
| Circular saw (handheld) | Field trimming | 165-190mm TCG carbide, 60+ teeth, guide rail | Full speed, slow feed | Good with rail |
| Waterjet | Complex profiles, thick panels | 0.76-1.0mm orifice, garnet abrasive | 0.3-1.5 m/min | Excellent, but wets the core |
| Hot knife / ultrasonic | Bare core only, not laminated panels | Heated blade at 200-240 degrees C | Slow | Fused cells, self-sealing |
| Jigsaw | Avoid | — | — | Poor, causes delamination |
- Support the panel fully. An unsupported overhang flexes the skin during the cut and produces a stepped, delaminated edge.
- Use a sacrificial backing board on the CNC bed for through-cuts.
- Keep feed steady. Dwelling in one spot melts the PP core and produces a smeared, sealed-but-lumpy edge.
- Glass fibre skins destroy blades. Budget carbide, not HSS, and expect roughly 300-500 linear metres per carbide blade on 1.5mm GFRP skins.
- Waterjet is excellent geometrically but floods the open cells. Panels must be blown out, dried, and edge-sealed the same day.
Edge Sealing: The Step Everyone Skips
Every cut edge exposes open cells. On a truck body, a trailer floor, or a marine panel, an unsealed edge is a slow leak that shows up two winters later as a soft, heavy, delaminated panel. This is the most common in-service failure we are asked to diagnose.
Four sealing methods, in order of durability:
| Method | How | Durability | Cost | Best for |
|---|---|---|---|---|
| Routed and filled | Rout 3-5mm of core away, fill with structural filler, sand flush | Excellent, structural | Medium | Visible edges, high-load edges |
| Bonded edge profile | U-channel or L-profile in PP/PVC/aluminium bonded over the edge | Excellent | Medium | Panel perimeters, door edges |
| Hot-plate edge fusion | Press the cut edge against a 220 degrees C plate to melt-close the cells | Very good on all-PP panels | Low | PP-core panels in production |
| Edge tape / sealant bead | PU or MS polymer bead, or bonded edge tape | Adequate | Very low | Interior, dry, non-structural |
For all-thermoplastic panels — a PP honeycomb core with PP-based skins — hot-plate edge fusion is the best answer and is unique to thermoplastic construction. The cut edge is pressed against a heated platen for 3-8 seconds; the cell walls melt and flow together, closing the panel with the same polymer it is made of. No filler, no adhesive, no dissimilar material, and the edge is as waterproof as the skin. Thermoset panels (epoxy, polyester) cannot do this at all — one of the practical advantages covered in our thermoplastic vs thermoset comparison.
If you are trimming panels on site, ask your supplier to ship an edge-sealing kit with the order. It costs almost nothing and it is the difference between a 15-year panel and a 4-year panel.
Fastening: Why Your Screw Pulled Out
Here is the data that should end the argument. Approximate pull-out values measured on a 20mm PP honeycomb panel with 1.5mm GFRP skins:
| Fastening method | Typical pull-out (N) | Installation time | Reusable |
|---|---|---|---|
| Self-tapping screw into core | 150-300 | 10 s | No |
| Sheet-metal screw into skin only | 300-500 | 10 s | No |
| Blind rivet with large washer | 600-1,000 | 20 s | No |
| Bonded threaded insert (potted) | 2,500-4,500 | 90 s + cure | Yes |
| Expansion / toggle insert | 1,800-3,200 | 60 s | Yes |
| Through-bolt with backing plate | 6,000-9,000 | 3 min | Yes |
| Factory-laminated hardwood or HD-PP block | 8,000-12,000 | 0 on site | Yes |
Values vary with core density, skin thickness and insert diameter; treat them as design guidance and validate on your own panel. But the ranking never changes.
Insert types and when to use each
Potted (bonded) threaded inserts are the workhorse. Drill an oversized hole through one skin and into the core, insert a flanged threaded bushing, and inject a two-part epoxy or PU potting compound that flows into the surrounding cells and locks the insert into a solid resin plug 15-25mm across. Cure 2-6 hours. This is how aircraft interiors, marine furniture and equipment mounts are attached to sandwich panels. Expansion inserts deform behind the far skin, like a toggle bolt. Faster, no cure time, reusable, but lower capacity and they require access to a blind hole of controlled depth. Good for interior fittings and equipment that gets moved. Through-bolts with backing plates are the choice for anything structural — chassis mounts, tow points, door hinges, load-securing rails. The backing plate must be large enough to spread the compressive load below the core crush strength: for a core with 0.8 MPa compressive strength carrying a 4 kN clamp load, you need a backing area of at least 5,000 mm2, which is a plate roughly 80 x 65mm. Undersized washers crush the core and the joint goes loose within weeks. Factory-laminated blocks are always the best solution when you know the hardware positions in advance. We laminate hardwood, high-density PP, or aluminium blocks into the panel during pressing, so the fastener lands in solid material with the panel still fully sealed. It costs almost nothing at the factory and it is impossible to retrofit as well on site. When you order PP honeycomb panels from us, send the hardware layout with the order.Joining Panel to Panel
| Joint type | Strength | Watertight | Disassembly | Typical use |
|---|---|---|---|---|
| H-profile (aluminium or PP) | Moderate | Good with sealant | Yes | Partition walls, field assembly |
| Tongue and groove, bonded | High | Excellent | No | Vehicle body walls, cold rooms |
| Backing strip bonded across joint | Moderate-high | Good | No | Field repairs, long runs |
| Skin-fold (cut-and-fold) corner | High | Excellent | No | Boxes, corners, enclosures |
| Butt joint with structural adhesive | Low | Poor | No | Avoid for structural work |
The cut-and-fold technique deserves a note because it is specific to sandwich construction and dramatically simplifies box building. You cut a V-groove through one skin and the core, leaving the opposite skin intact as a living hinge, apply adhesive in the groove, then fold the panel to 90 degrees. The result is a corner with no separate extrusion, no thermal bridge, and continuous skin around the outside. Groove angle for a 90-degree fold is 90 degrees; leave 0.3-0.5mm of core above the intact skin so the hinge does not crack.
For truck and trailer bodies specifically, joint detailing is covered further in our dry van trailer panel materials guide.
Bonding: The Polypropylene Problem
This is the section that separates people who have bonded PP successfully from people who are about to learn the hard way.
Polypropylene has a surface energy of roughly 29-31 mN/m. Most structural adhesives need at least 36-38 mN/m to wet the surface and form a bond. Clean, degrease and abrade all you like — if you do not raise the surface energy, the adhesive will bead up instead of wetting out, and the joint will peel off in one piece looking like it never cured. It did cure. It just never bonded.Four ways to fix it:
Adhesive selection
| Adhesive | Open time | Handling strength | Bonds PP untreated | Notes |
|---|---|---|---|---|
| Two-part methacrylate (MMA) | 5-20 min | 20-40 min | Yes (LSE grades) | Best all-round for composite panels |
| Polyurethane, two-part | 20-60 min | 4-8 h | No | Good gap fill, flexible, cheap |
| MS polymer / hybrid | 10-30 min | 12-24 h | Yes | Elastic, excellent for joints with movement |
| Epoxy | 30-90 min | 6-24 h | No | Highest shear strength, rigid, needs treatment |
| Hot-melt polyolefin | 10-30 s | Immediate | Yes | Fast, low temperature resistance |
| Cyanoacrylate + primer | seconds | seconds | With primer only | Fixturing only, not structural |
Two more bonding rules: control the bond line thickness (0.2-1.0mm for MMA and epoxy; too thin starves the joint and too thick reduces shear strength — use glass beads or a scrim to set it), and design for shear, not peel. A bonded sandwich joint loaded in peel will fail at a fraction of its shear capacity. Add a mechanical fastener anywhere peel loads are possible.
Nine Field Failures and How to Avoid Them
Ask the Factory to Do It
Almost every operation above is cheaper, faster and more reliable when done during panel manufacture instead of on your assembly floor. When you place an order, specify:
- CNC-cut to final shape, not rectangular blanks — no site trimming means no unsealed edges
- Pre-drilled and potted inserts at your hardware positions
- Laminated hardwood or HD-PP blocks where hinges, rails and mounts will land
- Factory-sealed edges, or bonded edge profiles applied on the line
- Pre-machined V-grooves for cut-and-fold corners
- Flame-treated bonding surfaces where you will bond on site, shipped protected
- An edge-sealing kit and a bond-line procedure sheet with the shipment
Frequently Asked Questions
What is the best way to cut a PP honeycomb sandwich panel?
For production and shaped cuts, a CNC router with a 6-12mm compression spiral bit at 18,000-24,000 rpm and a feed of 4-8 m/min gives the cleanest edge, because the compression geometry pushes both skins toward the core instead of lifting them. For straight cuts, use a panel saw or rail-guided circular saw with a triple-chip-grind carbide blade of 80-100 teeth and a negative or neutral hook angle at 3,500-4,500 rpm. Avoid jigsaws entirely — the reciprocating action delaminates thin skins. Whatever method you use, support the panel fully and seal the edge afterwards.
How much weight can a screw hold in a honeycomb panel?
Very little. A self-tapping screw driven into the core of a 20mm PP honeycomb panel with 1.5mm GFRP skins pulls out at roughly 150-300 N, and it degrades quickly under vibration. A bonded threaded insert in the same panel holds 2,500-4,500 N, an expansion insert 1,800-3,200 N, and a through-bolt with an adequately sized backing plate 6,000-9,000 N. For anything structural, or anything that will see vibration in a vehicle, use an insert or a factory-laminated block — never a bare screw.
Do I really have to seal cut edges on composite panels?
Yes, for any panel that will see moisture, cleaning water, condensation or outdoor exposure. Every cut exposes open core cells that wick water into the panel interior. The water adds weight, degrades the skin-to-core bond, and in cold climates expands on freezing and delaminates the panel from the inside. Sealing takes minutes: rout and fill, bond an edge profile, or — on all-PP panels — press the edge against a 220 degrees C hot plate for a few seconds to fuse the cells closed. Unsealed edges are the single most common cause of premature sandwich panel failure we see in the field.
Why won't adhesive stick to my polypropylene panel?
Because polypropylene has a surface energy of only about 29-31 mN/m and most structural adhesives need 36-38 mN/m to wet the surface. The adhesive beads up instead of spreading, and cures without ever forming a bond. The fix is to raise the surface energy before bonding: flame treatment for 0.2-3 seconds, plasma or corona treatment, a polyolefin primer, or an adhesive specifically formulated for low surface energy substrates such as a two-part LSE methacrylate. Verify the result with a 38 mN/m dyne pen — the ink should hold a continuous film for two seconds without beading.
How do I join two sandwich panels together?
Four methods, depending on your requirements. An H-profile of aluminium or PP slotted between the panel edges is quick, allows thermal movement and can be disassembled, but is the weakest option and can create a thermal bridge if metal. Machined tongue-and-groove edges with structural adhesive give the strongest, most watertight permanent joint. A backing strip bonded across the joint on one face is the easiest field repair. For corners, the cut-and-fold technique — V-grooving through one skin and the core, then folding on the intact skin as a living hinge — gives a continuous, sealed corner with no separate extrusion.
How much gap should I leave between panels for thermal expansion?
Polypropylene has a coefficient of thermal expansion of roughly 100-150 x 10^-6 per K, about ten times that of steel. A 3-metre panel experiencing a 60 degree C temperature swing changes length by 18-27mm. Leave 6-10mm gaps at interior joints and 8-12mm at exterior joints, and fill them with an elastic sealant rated for at least +/-25% movement — silicone or MS polymer, not a rigid filler. Rigid-filled joints crack, and cracked joints leak.
Can I have panels machined and fitted with inserts at the factory?
Yes, and you should. CNC cutting to final shape, potted insert installation, laminated hardwood or high-density PP blocks at hardware positions, pre-machined fold grooves and factory edge sealing are all standard options on our line. Factory machining typically adds 8-15% to the panel price while eliminating site trimming, unsealed edges and mis-positioned fasteners — the three problems that account for most warranty claims. Send us your hardware layout and CAD file with the enquiry and we will quote the machined panel.
Related Guides
- Sandwich Panel Construction: Core Materials, Skins & Bonding Methods
- PP Honeycomb Panel: Properties, Applications & Manufacturing Guide
- Honeycomb Core Panel: Structure, Types & Performance Data
- Thermoplastic vs Thermoset Composites: Which Is Right for Your Application
- Dry Van Trailer Panel Materials: Choosing Wall & Floor Panels
Need Panels Machined to Your Drawing?
Send us your CAD file, hardware layout and quantity. We will quote CNC-cut, insert-potted, edge-sealed panels ready to assemble — with a bond-line procedure sheet and an edge-sealing kit in the shipment.
Request a Quote or explore our PP honeycomb panels, CFRT panels and custom sandwich panels.
![PP Honeycomb Panel — Properties, Applications & How It's Made [2026]](/images/products/pp-honeycomb-panel.jpg)